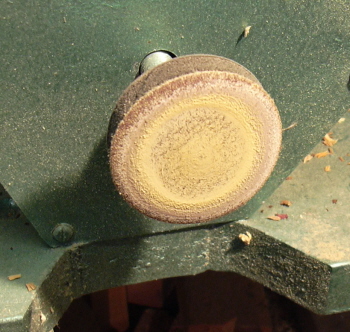
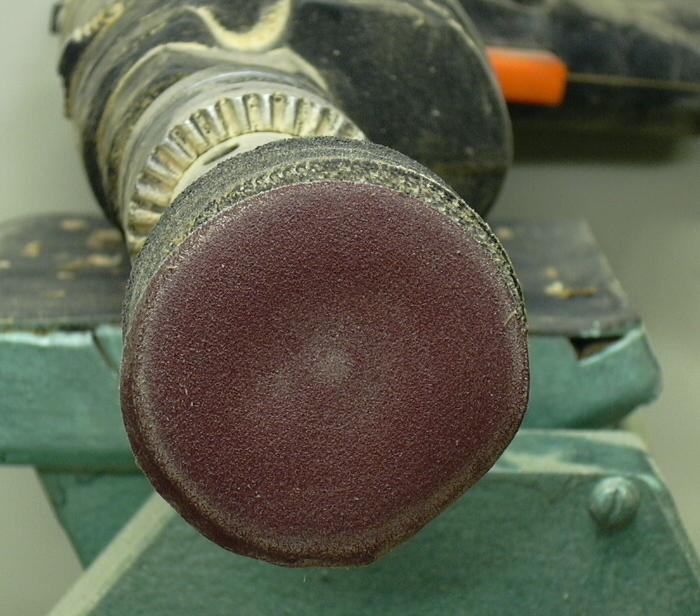
This is what I call my Rotary Cleaner as it reverses the principle of
operation, here we Rotate the Cleaner Block and apply the Abrasive just
as if you were Sanding a Spindle on the Lathe.
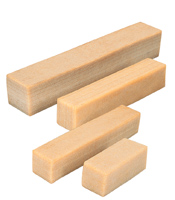
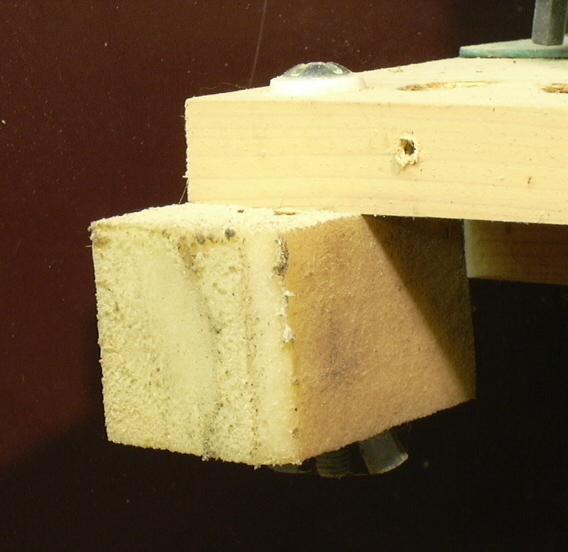
You first will need to
drill a suitable hole through the center of the 75mm [3"] length,
for my part I held this in the Lathe Chuck and used a 12mm drill mounted
in a Jacobs Chuck in the Tailstock.
The Swarf produced
during this process is Tacky and you will need to take it very slowly
and constantly remove the Swarf that will quickly fill and wrap itself around the Flutes
of the Drill.
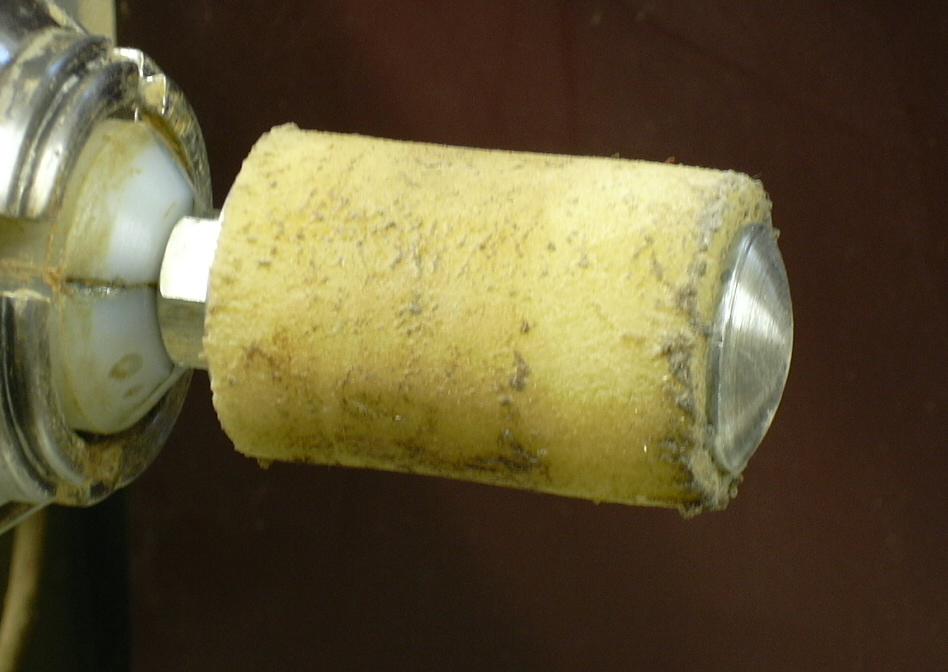
I then mounted the
Block onto a Coach Bolt [M12 x 130mm] with a Large Washer at either end
and bolted it up tight.
Mount this assembly in the Lathe
Chuck [ I used my Bottle Stopper Collet ] and carefully Turn it into a Round Barrel Shape using a Small
Spindle Gouge, again the Shavings will be slightly Tacky and will cling
to the Gouge so you need to clear it away as you go.
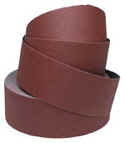
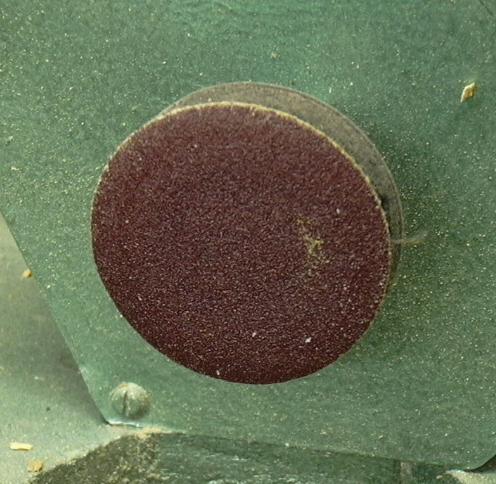
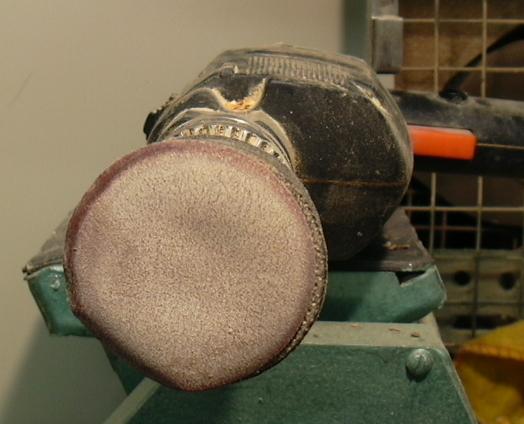
By applying the
Abrasive to the Rotary Cleaner Spinning in the Lathe you can now
effectively Clean those, not ready to throw away, valuable pieces of
Abrasive and achieve the results as shown right.
a |